Security Camera Clock Synchronization: Can You Trust the Incident Timeline?
A commissioning checklist for keeping IP cameras, recorders, and access-control events on a defensible timeline—covering NTP status, time zones, export checks, and closeout evidence.
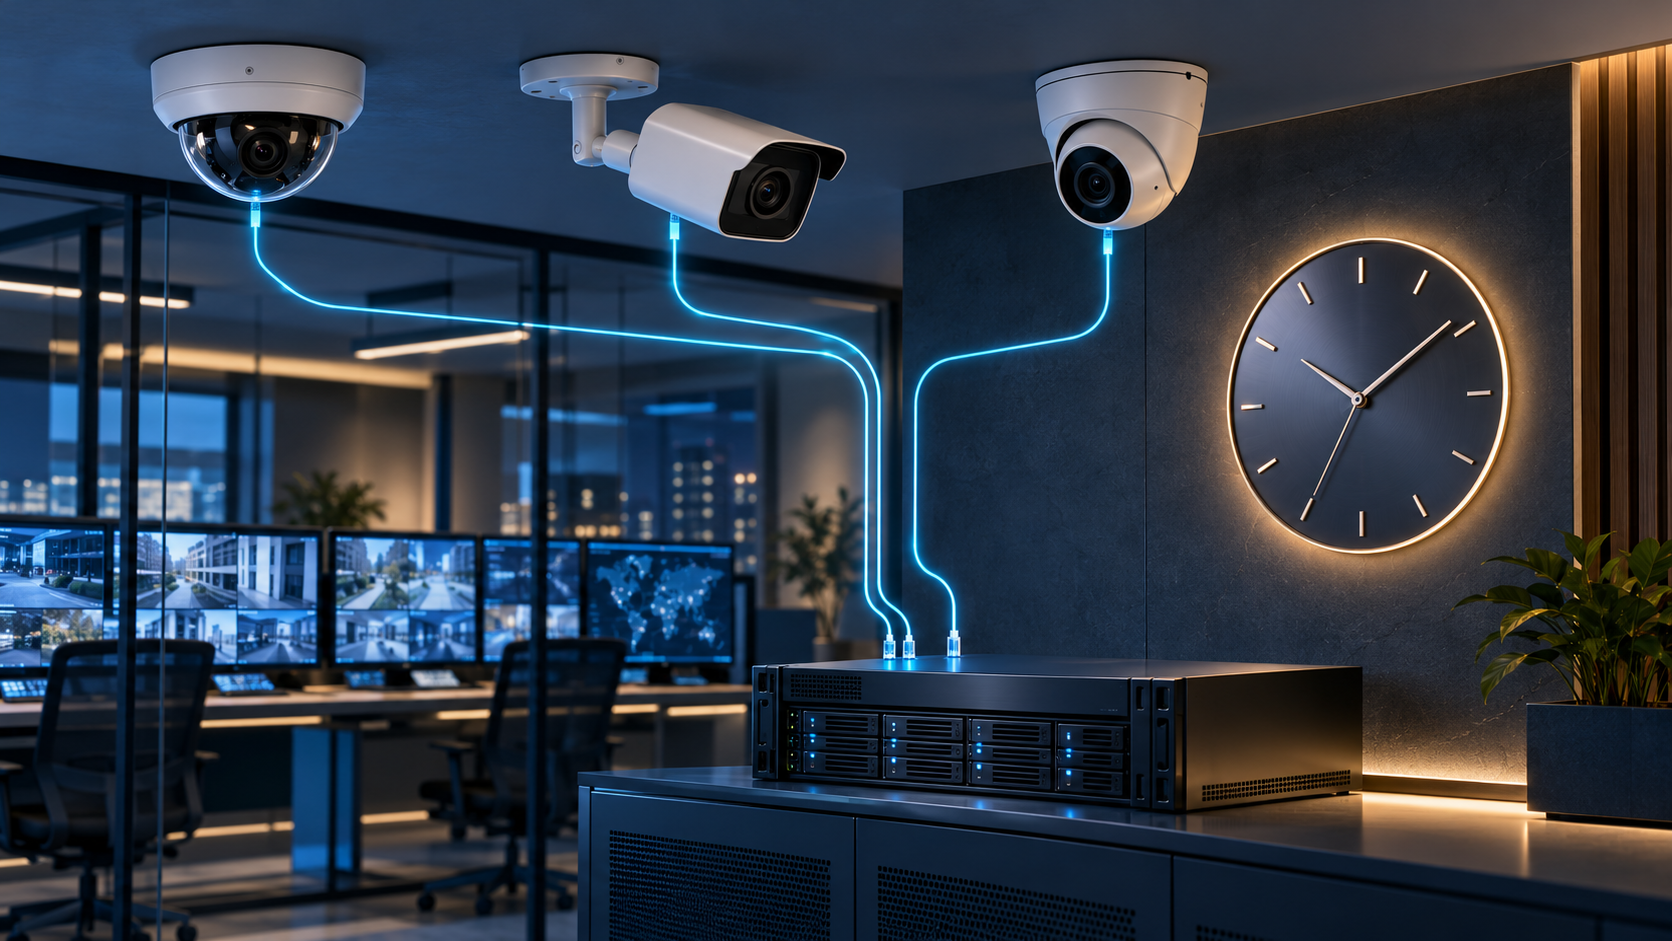
When an incident spans two camera views and an access-control event, a few minutes of clock disagreement can turn a simple review into a disputed timeline. The camera may be recording normally while its timestamp is wrong. Before a Southern California business depends on video to reconstruct an event, it needs to know not only that footage exists, but also how each device knows the time.
Why timestamp accuracy is an operational control
Security footage is often reviewed alongside door events, alarm logs, switch events, and staff reports. If those systems use different or drifting clocks, the displayed order of events may be misleading. This is a correlation problem, not necessarily a video-quality problem. A manufacturer’s streaming documentation describes using NTP timestamps in video packets to associate frames with metadata and synchronize video from different cameras. That capability depends on the implementation and does not mean every recorder, export, or on-screen overlay uses the same timestamp.
Inventory the clocks before changing settings
Document each camera, network video recorder (NVR), video management server, access-control controller, and logging system. Record its time source, configured time zone, daylight-saving behavior, current clock reading, and whether it reports a successful synchronization. For network cameras, distinguish a configured NTP server from proof that synchronization is actually working. Axis documents separate fields for NTP enablement, server source, synchronization state, and time offset; use the equivalent status indicators available on the installed equipment rather than assuming every manufacturer exposes the same controls.
Check the full path to the time source
- Source: select an approved, reachable time service and document how cameras, recorders, and controllers obtain it. A DHCP-provided setting and a static setting may produce different results after a network change.
- Network path: check name resolution, routing, firewall rules, and the applicable network segment. If a camera cannot reach its selected service, a saved address alone is not evidence of synchronized time.
- Display convention: decide whether systems store and export timestamps in UTC, local time, or both. Record the time zone and daylight-saving interpretation used by each operator interface.
- Health: review synchronization status and reported offset where available, including after a restart or loss of connectivity. Define an alert or inspection cadence appropriate to the business’s investigation needs.
Commission a timeline, not just a live view
Use a documented test event that appears on at least two cameras and, where integrated, generates a door or alarm event. Note the reference time and compare the live display, the NVR playback timeline, the downloaded clip, and the associated system log. Keep the event description and observed differences in the commissioning record. Do not assume that an on-screen timestamp, a file creation time, and the original capture timestamp represent the same thing.
- Verify synchronization: inspect status on representative devices and every critical recorder or controller. Resolve failed sync before calling the test complete.
- Compare events: confirm that the shared test event appears in the expected order across cameras and access-control records, allowing for observed recording or event-processing delay.
- Export and replay: open the exported clip in the intended viewing workflow; confirm its camera identifier, date, time zone, and playback range remain intelligible outside the NVR interface.
- Restart and recheck: where safe, validate the documented time source and synchronization status after a planned reboot or network reconnection.
- Record exceptions: identify any device that cannot synchronize, cannot display its status, or uses an undocumented timestamp conversion. Assign a resolution owner before handoff.
Common mistakes that make an investigation harder
Setting the clock manually during installation may make a screenshot look correct without addressing future drift. Treating the NVR as the only clock to inspect can miss cameras or door controllers that timestamp events independently. Confusing local display time with the underlying timestamp can create apparent gaps around a daylight-saving transition. And exporting only a short clip without its device identifier, time-zone context, or related logs makes the record harder to interpret later.
“Recording” and “reconstructing a trustworthy timeline” are separate acceptance tests.
Build a usable closeout and maintenance record
Keep the device inventory, time-source configuration, network dependencies, synchronization-status screenshots or exported diagnostics, test-event comparison, export procedure, and exception log with the as-built security documentation. Review the status after firmware updates, DHCP or firewall changes, recorder replacement, and prolonged network outages. If there is an actual incident, preserve the original footage and relevant logs under the organization’s retention and evidence-handling process; do not overwrite an original to correct a timestamp.
How SkaiCloud Network helps
SkaiCloud Network can coordinate camera connectivity, recording infrastructure, access-control network dependencies, and commissioning documentation as one infrastructure scope. For a new deployment or system refresh, make timestamp verification and a sample exported-event comparison explicit acceptance items, not assumptions buried in the equipment setup. Discuss a surveillance and network commissioning plan with SkaiCloud Network.